5 TIPS FOR PAINTING THE EXTERIOR OF YOUR HOUSE
In the home, we dare to choose colour more and more often. White walls alone have been a thing of the past for a few years now. And although it may feel safer to choose standard shades for your woodwork and walls outdoors, this can also be done differently. With the new outdoor line from LAB, you can now easily take the atmosphere from indoors outside!
The sustainable exterior line is available in all 176 LAB COLOURS and in almost every other shade. The LAB Exterior collection consists of LAB Exterior Paint , LAB Wood Primer Exterior , LAB Wood Stain and LAB Wall Paint Exterior . All these products are produced in the Netherlands and have been specially developed for the Dutch climate. As with the rest of the LAB PAINT range, no concessions have been made to quality, so you can expect an extremely durable result.
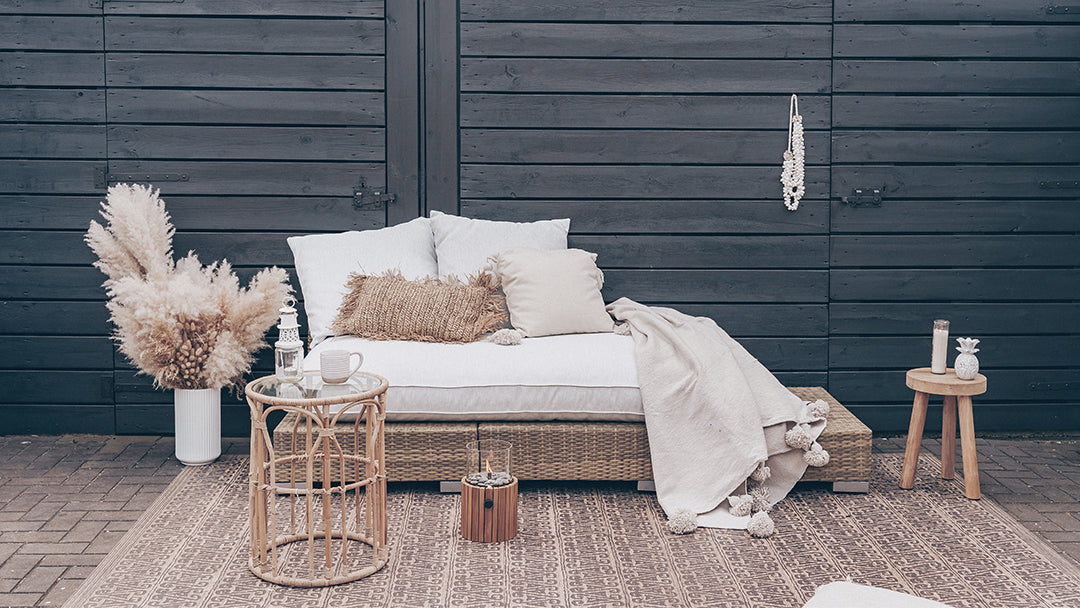
 Photo: LAB Wood Stain in Night Sky no. 101 by @ellefotografie
How to choose the perfect color for outdoors
Do you want to extend the atmosphere of the inside to the outside? Then keep in mind that colours always appear brighter outside because there is much more light. For example, do you have Mushroom no. 287 on the walls inside? Then choose Amaze no. 535 or Grey Clay no. 74 for the outside wall. Go for one or two shades darker if you want the same effect. Also assess a LAB Colour Sample outside to get an idea of the result.
Tips for painting the exterior of your house
Although every product works a little differently, we have collected a number of tips that apply to the entire outdoor line. Do you want to be sure of a sustainable end result? Then take the following five tips into account.
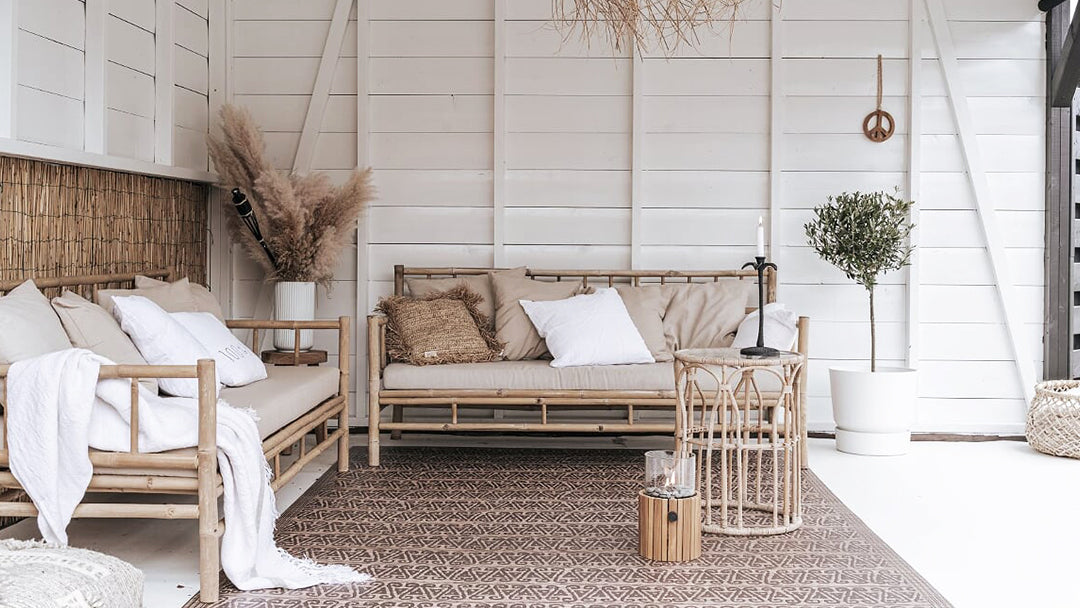
 Photo: LAB Wood Stain in LAB ARCHIVE COLOR Snow no. 56 and Night Sky no. 101 by @ellefotografie
1. Good preparation is key
It is often forgotten, but it is the most important thing before you start painting: the preparation. Clean and dry walls, remove dirt and loose layers of paint and fill holes. Are you going to work with LAB Exterior Paint ? Also clean the windows thoroughly beforehand to prevent leak marks on the end result. Degrease woodwork well and sand it lightly. You can combine this with a sanding sponge . Sanding is sufficient for the adhesion of a new layer of paint. With good existing layers of paint, the wood does not have to be completely sanded bare. Also make sure that you fill holes before you start with primer. Because LAB Wood Primer Outside is thicker, it fills in small irregularities and ensures good coverage and adhesion with LAB Outside Paint . Always read the product advice of the product you are going to work with in advance.
2. Don't skimp on painting supplies
In addition to good preparation , the right tools are just as important. Make sure you have suitable brushes and rollers , use good masking tape and high-quality sealant and filler . You can see painting as a system in which you have to go through several steps. This system is as weak as its weakest link. Do you want to save on a component? Then this will not only affect the result, but also its durability. In the long term, the investment in the right materials is more than worth it. Are you unsure about what you need? With our processing packages for exterior paint, you will have everything in-house right away.
3. Always apply two top coats
Do you want to be sure of an optimal result that stays beautiful for a long time? Then always apply two layers per product. This makes the color come out as it is intended and it has an impact on the strength of the result. A primer is the connection between wood and lacquer. It is therefore very important that the primer is good. That is why it is wise to apply two layers of this as well. Incidentally, LAB Wood Primer Outside is so strong that it will last for two years without a top coat.
4. Store paint and brushes properly
If you store good paint under the right conditions, it will keep for two to three years without any problems. Handy if you need to touch up your paintwork. Don't leave a can of paint in the car or shed during the winter. It is best to store outdoor paint in the cellar or attic at a constant temperature. Keep the space between the paint and the lids as small as possible and make sure that cans are properly sealed. It is wise to pour leftover paint into a new can . Clean the rim and make sure that the can is properly sealed. If you are going to paint outdoors, you will probably not be finished within two days. Fortunately, you can simply reuse brushes and rollers. Wrap them in aluminium foil after use. Another advantage: you do not have to clean them in between!
5. Take the season into account
Plan well if you want to paint outside. Of course, you should avoid moisture and rain. This prevents the paint from drying properly. Always paint in dry weather and also check the weather forecast in the days after you plan to start. Do not paint in full sun in the summer. This can cause the paint to dry too quickly. The days are longer in May than in September or October. So think in advance about how many hours you want to paint per day and take the drying times into account.

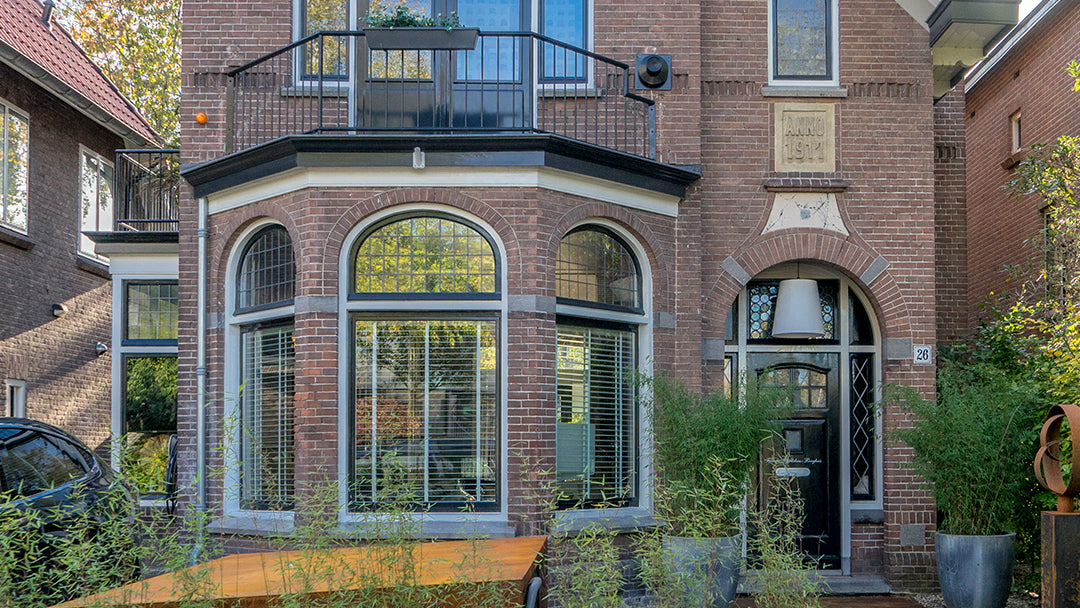
Photo: Muk van Lil
Despite these tips, are you dreading getting started yourself? With Vestingh Paint & Projects, we are happy to take care of everything for you! Our specialized professionals have extensive experience in various painting and wallpapering jobs. Feel free to contact us via projecten@vestingh.nl for more information or visit our concept store in Bussum .


Leave a comment