Toilet makeover with LAB Cementum (concrete look)
Interior blogger Nicole from @nieks_servies has renovated the smallest room in her house, namely the toilet. She wanted a sleek yet attractive bathroom and toilet. During her holidays in Indonesia, Thailand and Morocco, she came across the most beautiful bathrooms with concrete walls in the most beautiful colors. She also wanted this base. She therefore finished the walls with LAB Cementum in the shade Gray Clay no. 74 . In her blog she explains step by step how she got started. Read Nicole's "DIY Concrete Look" blog below.

Nicole speaking:
"I regularly receive questions from you about how we made the concrete-look walls in the bathroom and toilet. Because we are very happy with the concrete-look walls and I want to take you through the step-by-step plan, I wrote a blog about this.
LAB Cementum. We have chosen LAB Cementum from LAB PAINT for our concrete look walls. We have been working with Vestingh wall paint for years and are very satisfied with their products. That is why we chose DIY LAB Cementum from LAB PAINT for this project.

Where can you use LAB Cementum? We wanted a sleek yet attractive bathroom and toilet. During our holidays in Indonesia, Thailand and Morocco, we came across the most beautiful bathrooms with concrete walls in the most beautiful colors. We also wanted this base. LAB Cementum can be used in every room in your home. If you want to use LAB Cementum in a wet room or a room that you need to clean easily, for example near a kitchen, you still have to finish the walls with a waterproof coating. LAB Cementum can be used on plaster/plastered walls, concrete, cement, mdf, plywood or chipboard. If the surface is absorbent, it is recommended to start with LAB ECO Wallfix .
What steps do you go through? Depending on the surface and the space in which you will be using LAB Cementum, a number of steps are required. I explain this to you step by step and take you through the whole process.

Step 1: Layer 1 LAB ECO Wallfix. This is therefore an optional layer and necessary for new stucco or powdery absorbent surfaces. You apply this layer with a fur roller and it is dry after about 2 to 3 hours.

Step 2: Layer 2 LAB Cementum Primer Wall. This layer ensures good adhesion of the LAB Cementum to your walls. You apply this layer with a microfibre roller. The drying time is approximately 2 to 3 hours depending on the temperature and humidity.

Step 3: Layer 3 and 4 LAB Cementum. You apply the LAB Cementum in 2 layers. We chose the color Gray Clay no. 74 . Before you start, check the walls for irregularities and remove them. You apply this layer with a fur roller, trowel / stucco knife and you can use a brush in the corners. Let the LAB Cementum dry for a while and then you can smooth out the layers with your trowel, here you can create the concrete effect you want. Drying time between these layers is also about 2 to 3 hours, but again depends on the temperature and humidity.

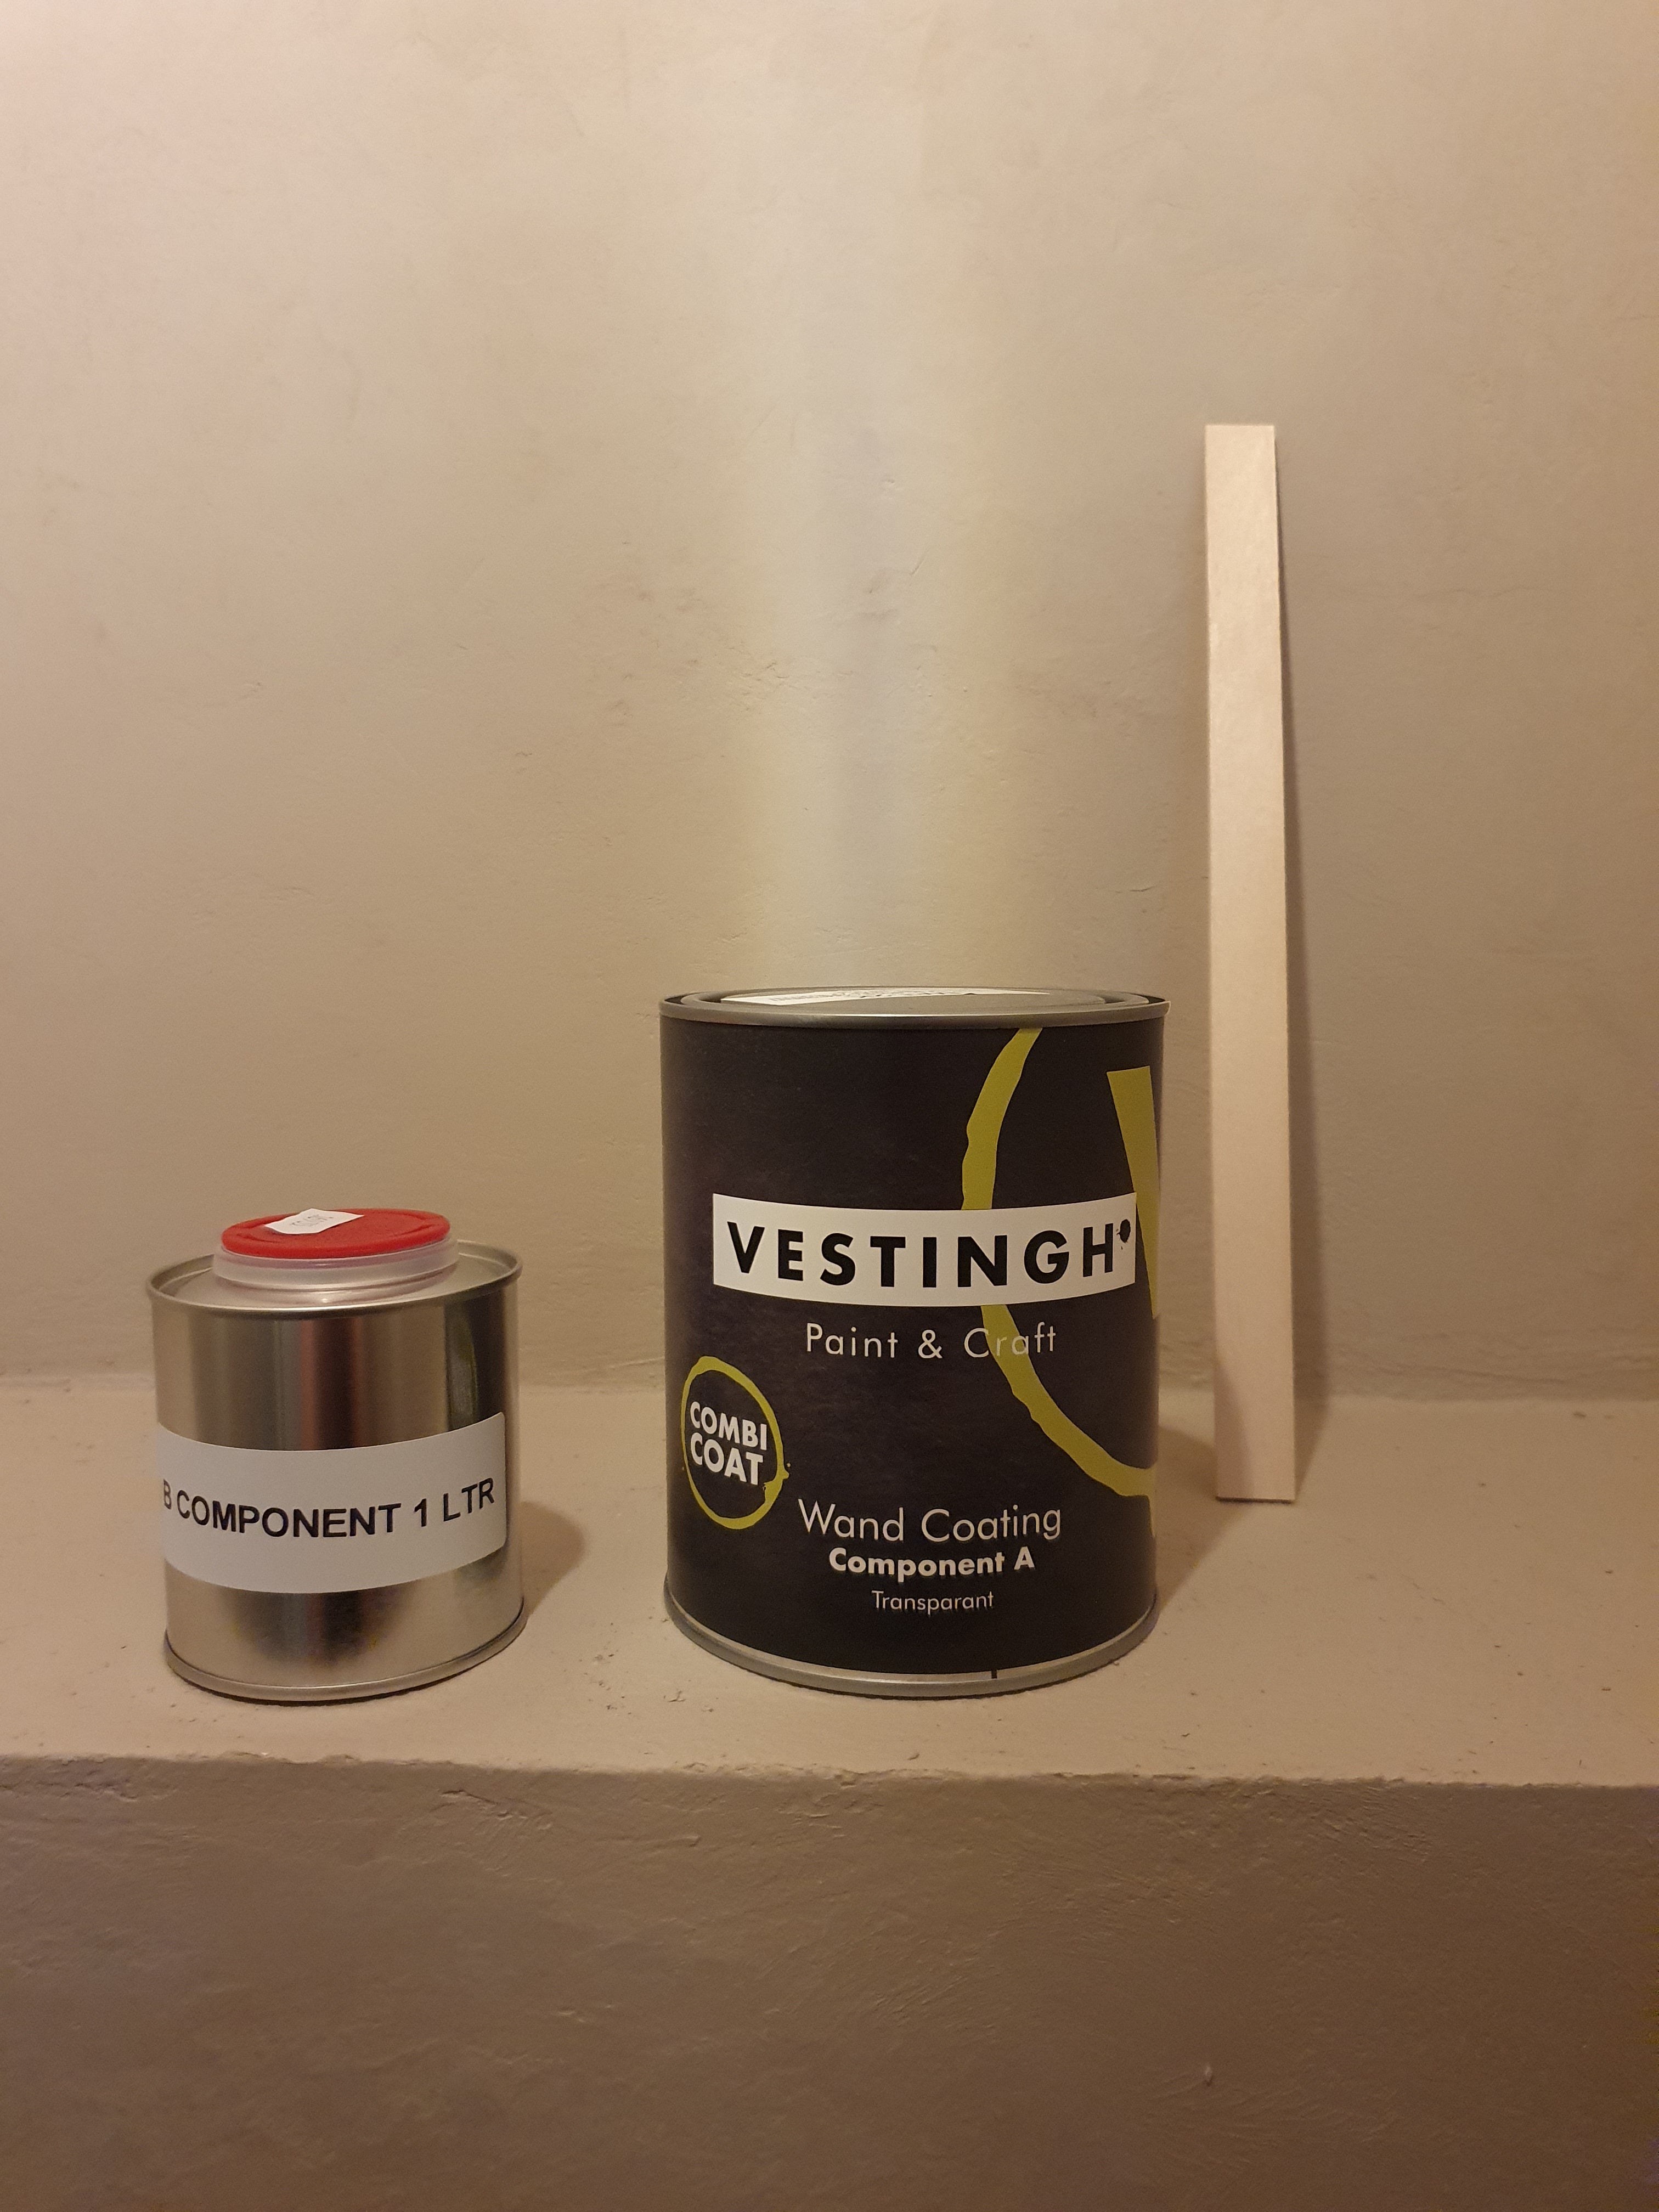
Step 4: Layer 5 and 6 LAB Coating. These are the last layers that ensure that the walls become watertight, water-repellent. You apply this layer with a felt roller and it has to dry for about 6 hours between the layers. It is important that you only apply this layer after you have allowed the LAB Cementum layers to dry for at least 24 hours.

The end result. We are really very happy with the end result. It is also really good to do it yourself. Just get the hang of it and practice on a small wall, but then you should certainly succeed. If you get started with DIY LAB Cementum, good luck and it would be nice if you share a photo.


Leave a comment